Home Assistant
iHeater Link publishes itself to Home Assistant via MQTT Discovery: HA creates the entities on its own — temperature, heating power, start fields and buttons. The portal is not needed for this, everything goes through your MQTT broker.
Below: enabling the integration, verification and a ready-made card layout, so that the device looks tidy rather than a list of entities.
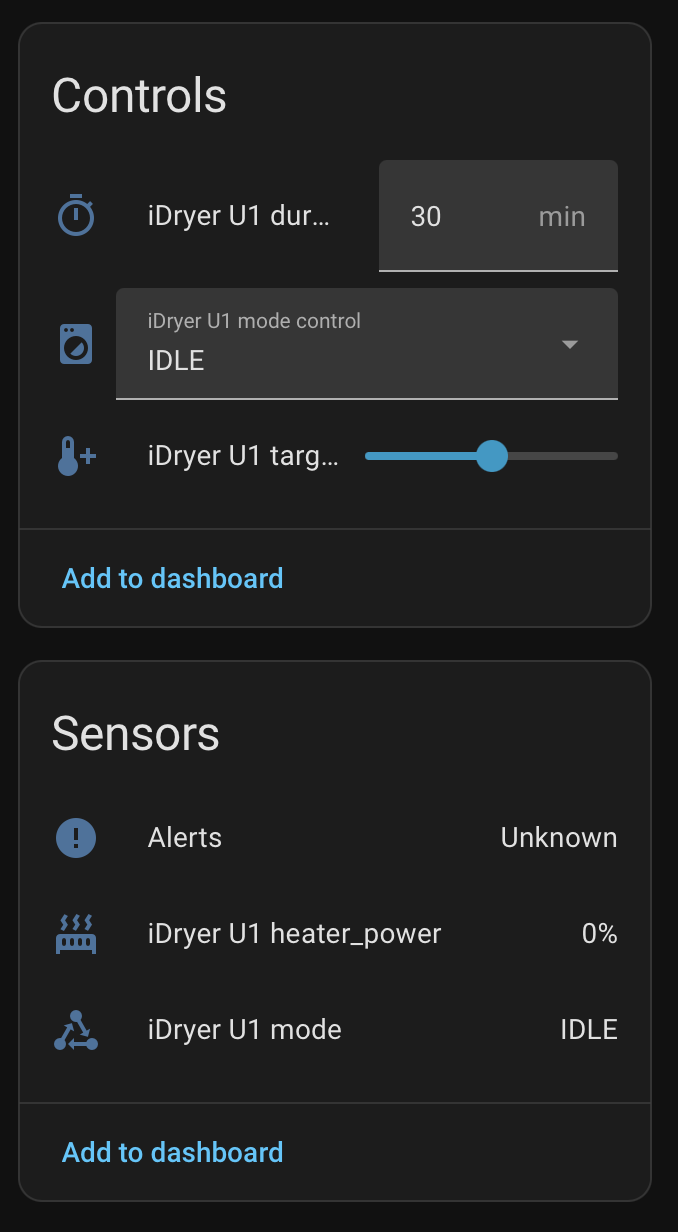
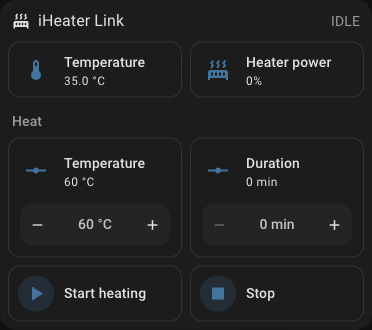 Chamber temperature, heating power and heating start in a single block.
Note
The device will not appear in Settings → Devices & services → Discovered: this is MQTT Discovery, not UPnP/zeroconf. The MQTT integration in Home Assistant must be added in advance.
What you need
- An MQTT broker: the Mosquitto broker add-on in Home Assistant or any broker on your network.
- The MQTT integration added in Home Assistant, pointing to that broker.
- iHeater Link on the network and
Onlineon the portal.
iHeater Link is the communication module for the iHeater controller; flash the controller with the iheater_revX_X_pulse firmware.
Step 1. Enable the integration on the device
Open the device at portal.idryer.org and find the Integrations → Home Assistant block.
| Field | What to enter |
|---|---|
| Host | the broker address on your network, for example 192.168.1.27 |
| Port | the broker port, usually 1883 |
| Username / Password | broker credentials, if it requires them |
| Discovery prefix | homeassistant, unless you changed it in the HA settings |
| Enabled | the checkbox — otherwise the device will not connect to the broker |
The settings go straight to the device over the local network — the portal does not store them. Home Assistant is turned on by its own switch and does not interfere with the printer integrations: Bambu Lab and Moonraker are selected separately, and only one of them works at a time.
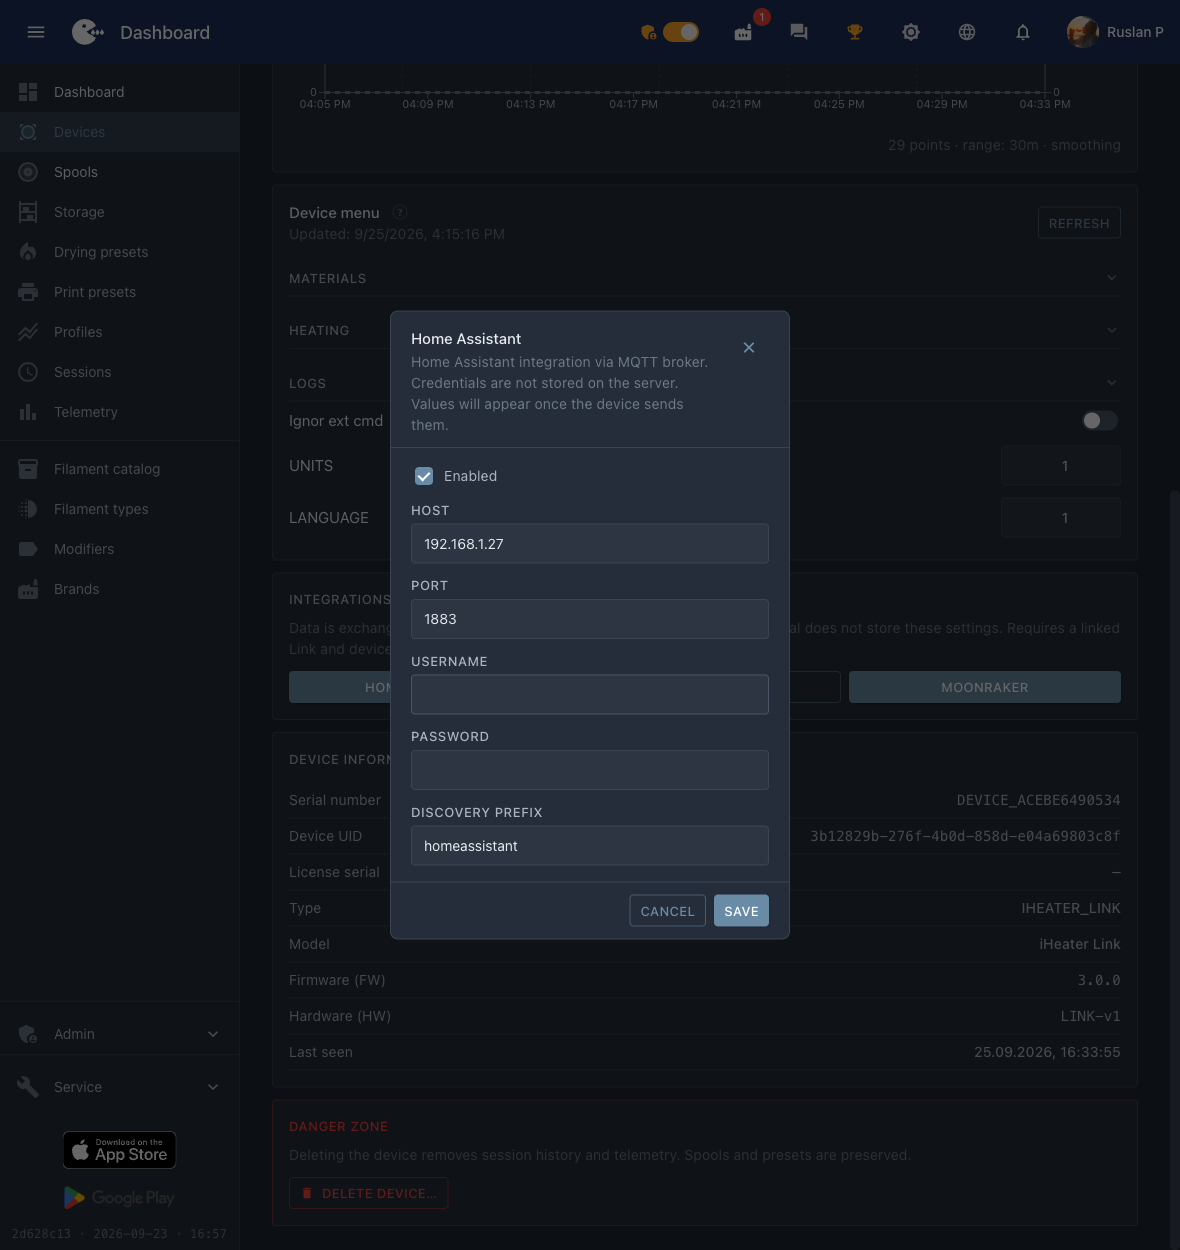 The broker address, port and the "Enabled" flag — everything the device needs.
Step 2. Find the device in Home Assistant
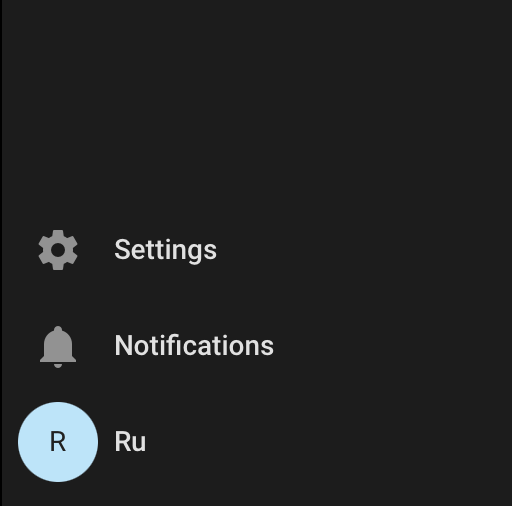
At the bottom of the side menu click Settings.
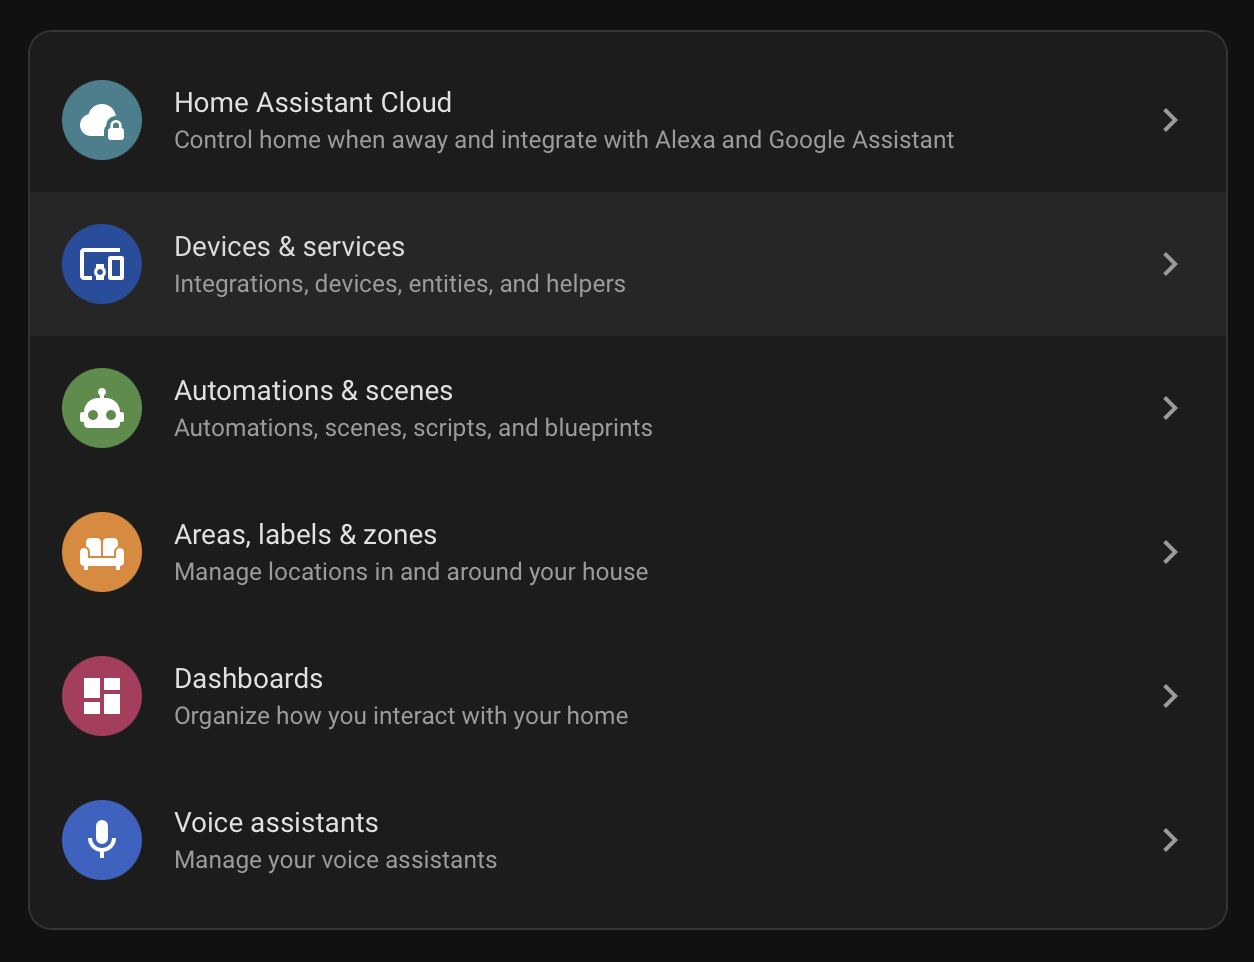
Choose Devices & services.
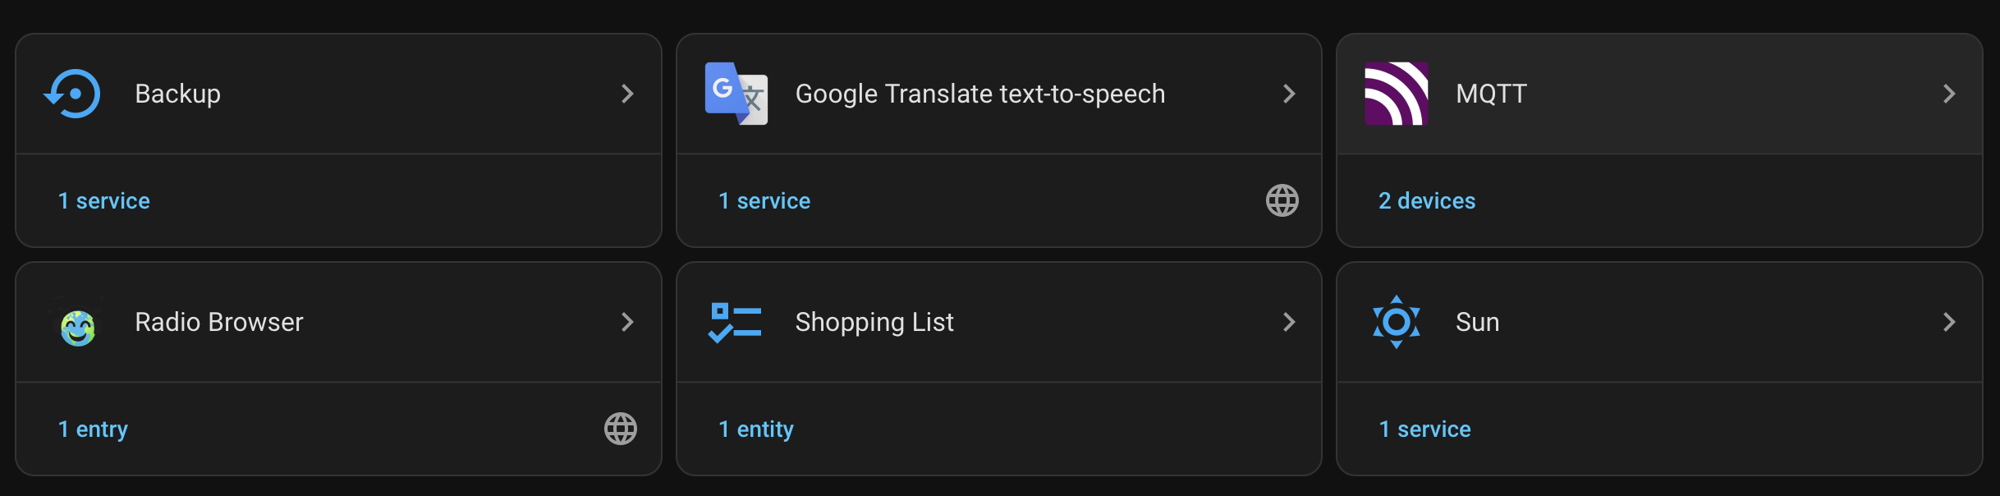
Find the MQTT card. Under its name is the counter of connected devices.
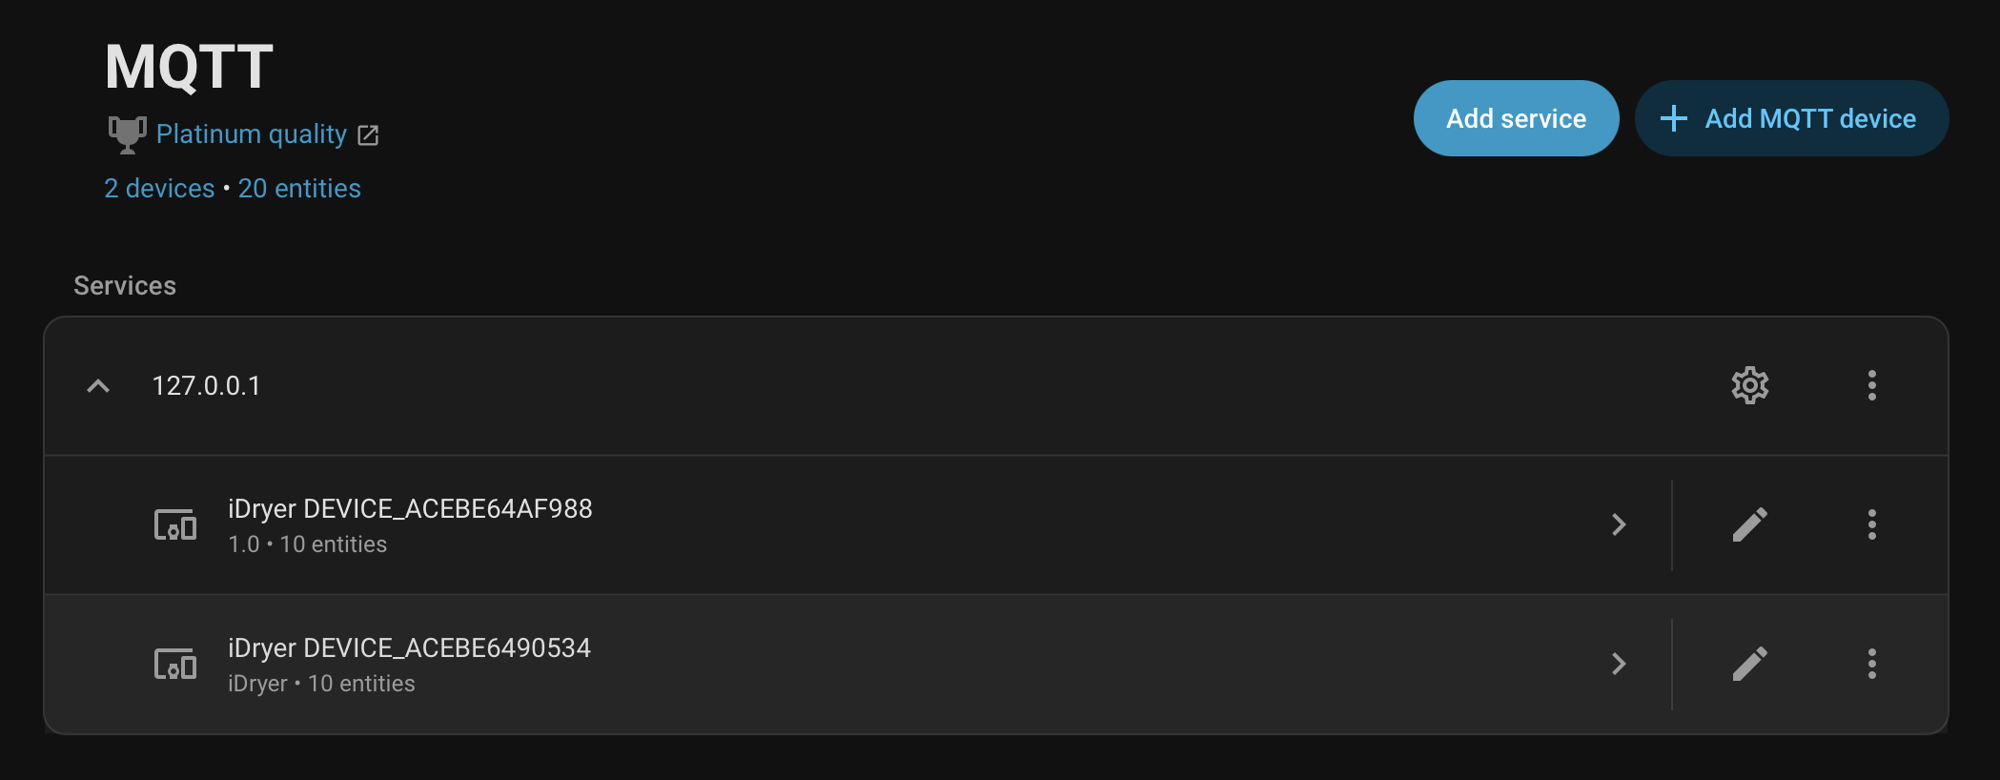
In the Services section expand the broker node. iDryer devices are listed under serial numbers of the form DEVICE_*.
Open the device: HA already shows the readings and controls.
Step 3. Build the card
HA lays the entities out on its own, and the result is a long list. The ready-made layout puts the readings on top and the heating start in a separate block.
Settings→Dashboards→ Add dashboard → an empty dashboard, open it.- Top right corner → the pencil (Edit) → the "⋮" menu → Raw configuration editor.
- Paste the contents below and save.
The layout is designed for a dashboard of type sections.
title: iDryer
views:
- title: Devices
  path: devices
  type: sections
  max_columns: 4
  sections:
  - type: grid
    background: true
    cards:
    - type: heading
      heading: iHeater Link
      heading_style: title
      icon: mdi:radiator
      badges:
      - type: entity
        entity: sensor.iheater_link_mode
        show_icon: false
        show_state: true
        color: primary
    - type: tile
      entity: sensor.iheater_link_temperature
      name: Temperature
      visibility:
      - condition: state
        entity: sensor.iheater_link_temperature
        state_not:
        - unknown
        - unavailable
    - type: tile
      entity: sensor.iheater_link_heater_power
      name: Heater power
    - type: heading
      heading: Heat
      heading_style: subtitle
    - type: tile
      entity: number.iheater_link_heat_temperature
      name: Temperature
      features:
      - type: numeric-input
        style: buttons
      features_position: bottom
    - type: tile
      entity: number.iheater_link_heat_duration
      name: Duration
      features:
      - type: numeric-input
        style: buttons
      features_position: bottom
    - type: tile
      entity: button.iheater_link_heat
      name: Start heating
      icon: mdi:play
      hide_state: true
      tap_action: &id001
        action: perform-action
        perform_action: button.press
        target:
          entity_id: button.iheater_link_heat
      icon_tap_action: *id001
    - type: tile
      entity: button.iheater_link_stop
      name: Stop
      icon: mdi:stop
      hide_state: true
      tap_action: &id002
        action: perform-action
        perform_action: button.press
        target:
          entity_id: button.iheater_link_stop
      icon_tap_action: *id002
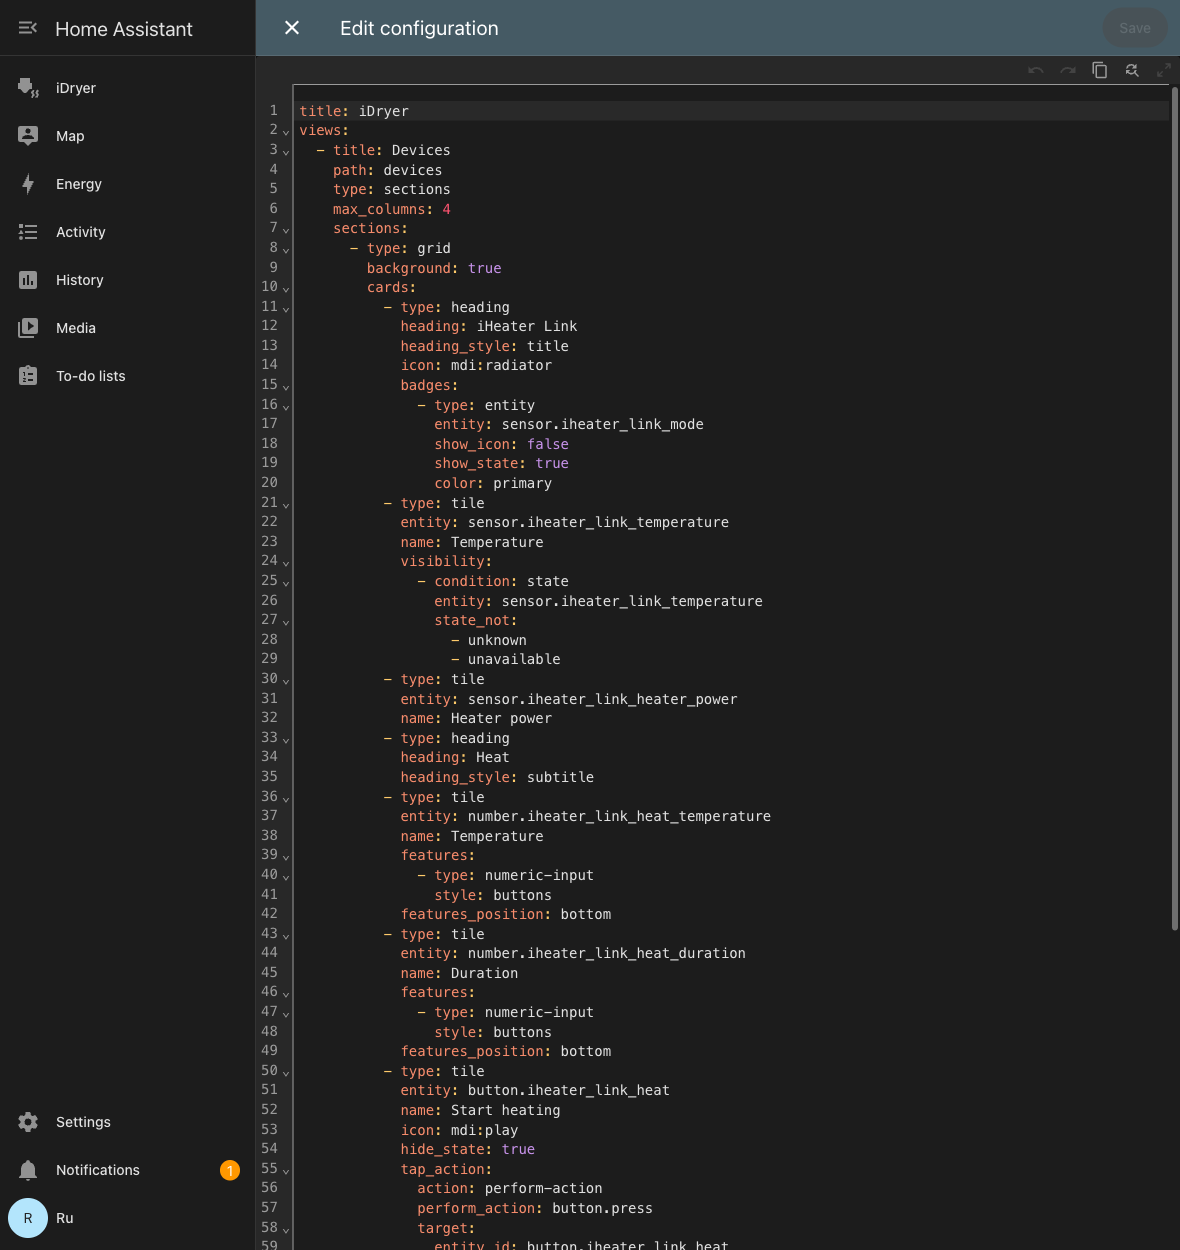 The same layout in the dashboard configuration editor.
The start sequence is the same as in the app: first the temperature and the duration are set, then Start heating is pressed. The Stop button turns the heating off.
If the entity names do not match
The layout is designed for standard identifiers of the form sensor.iheater_link_temperature. If the card shows "Entity not found", look up your own: Settings → Devices & services → MQTT → your device → the entity list — and replace the prefix in the layout with yours.
What happens under the hood
- The device declares its own set of entities — from the description of its card: readings, parameter fields and action buttons. What the device does not have does not appear in Home Assistant.
- The values are published to MQTT together with the regular telemetry; HA receives them in real time.
- A button press in HA reaches the device as the same action as from the portal or the app — there is no separate "for Home Assistant" logic in the firmware.
Troubleshooting
| Symptom | What to check |
|---|---|
| The device did not appear in HA | On the portal the Home Assistant integration has the "Enabled" checkbox set, the broker address and port are correct. The device must be Online. |
It appeared, but the values are Unknown |
Wait for a telemetry cycle. If it is still empty — the broker does not keep retained messages or the device did not connect to it. |
| There is no chamber temperature | The sensor is not connected to the iHeater controller: without it the device does not publish this value. |
| The buttons do not work | Check that the broker allows publishing to the idryer/# topics and that the device log has no authorization errors. |
Ghost entities with the value Unknown |
Retained messages from an earlier firmware are left over. Clear them: mosquitto_pub -h <broker> -t 'homeassistant/<...>/config' -n -r. |
| Bambu or Moonraker disappeared along with Home Assistant | Home Assistant has nothing to do with it — it is turned on separately. Check the printer integration selection: only one of them works. |